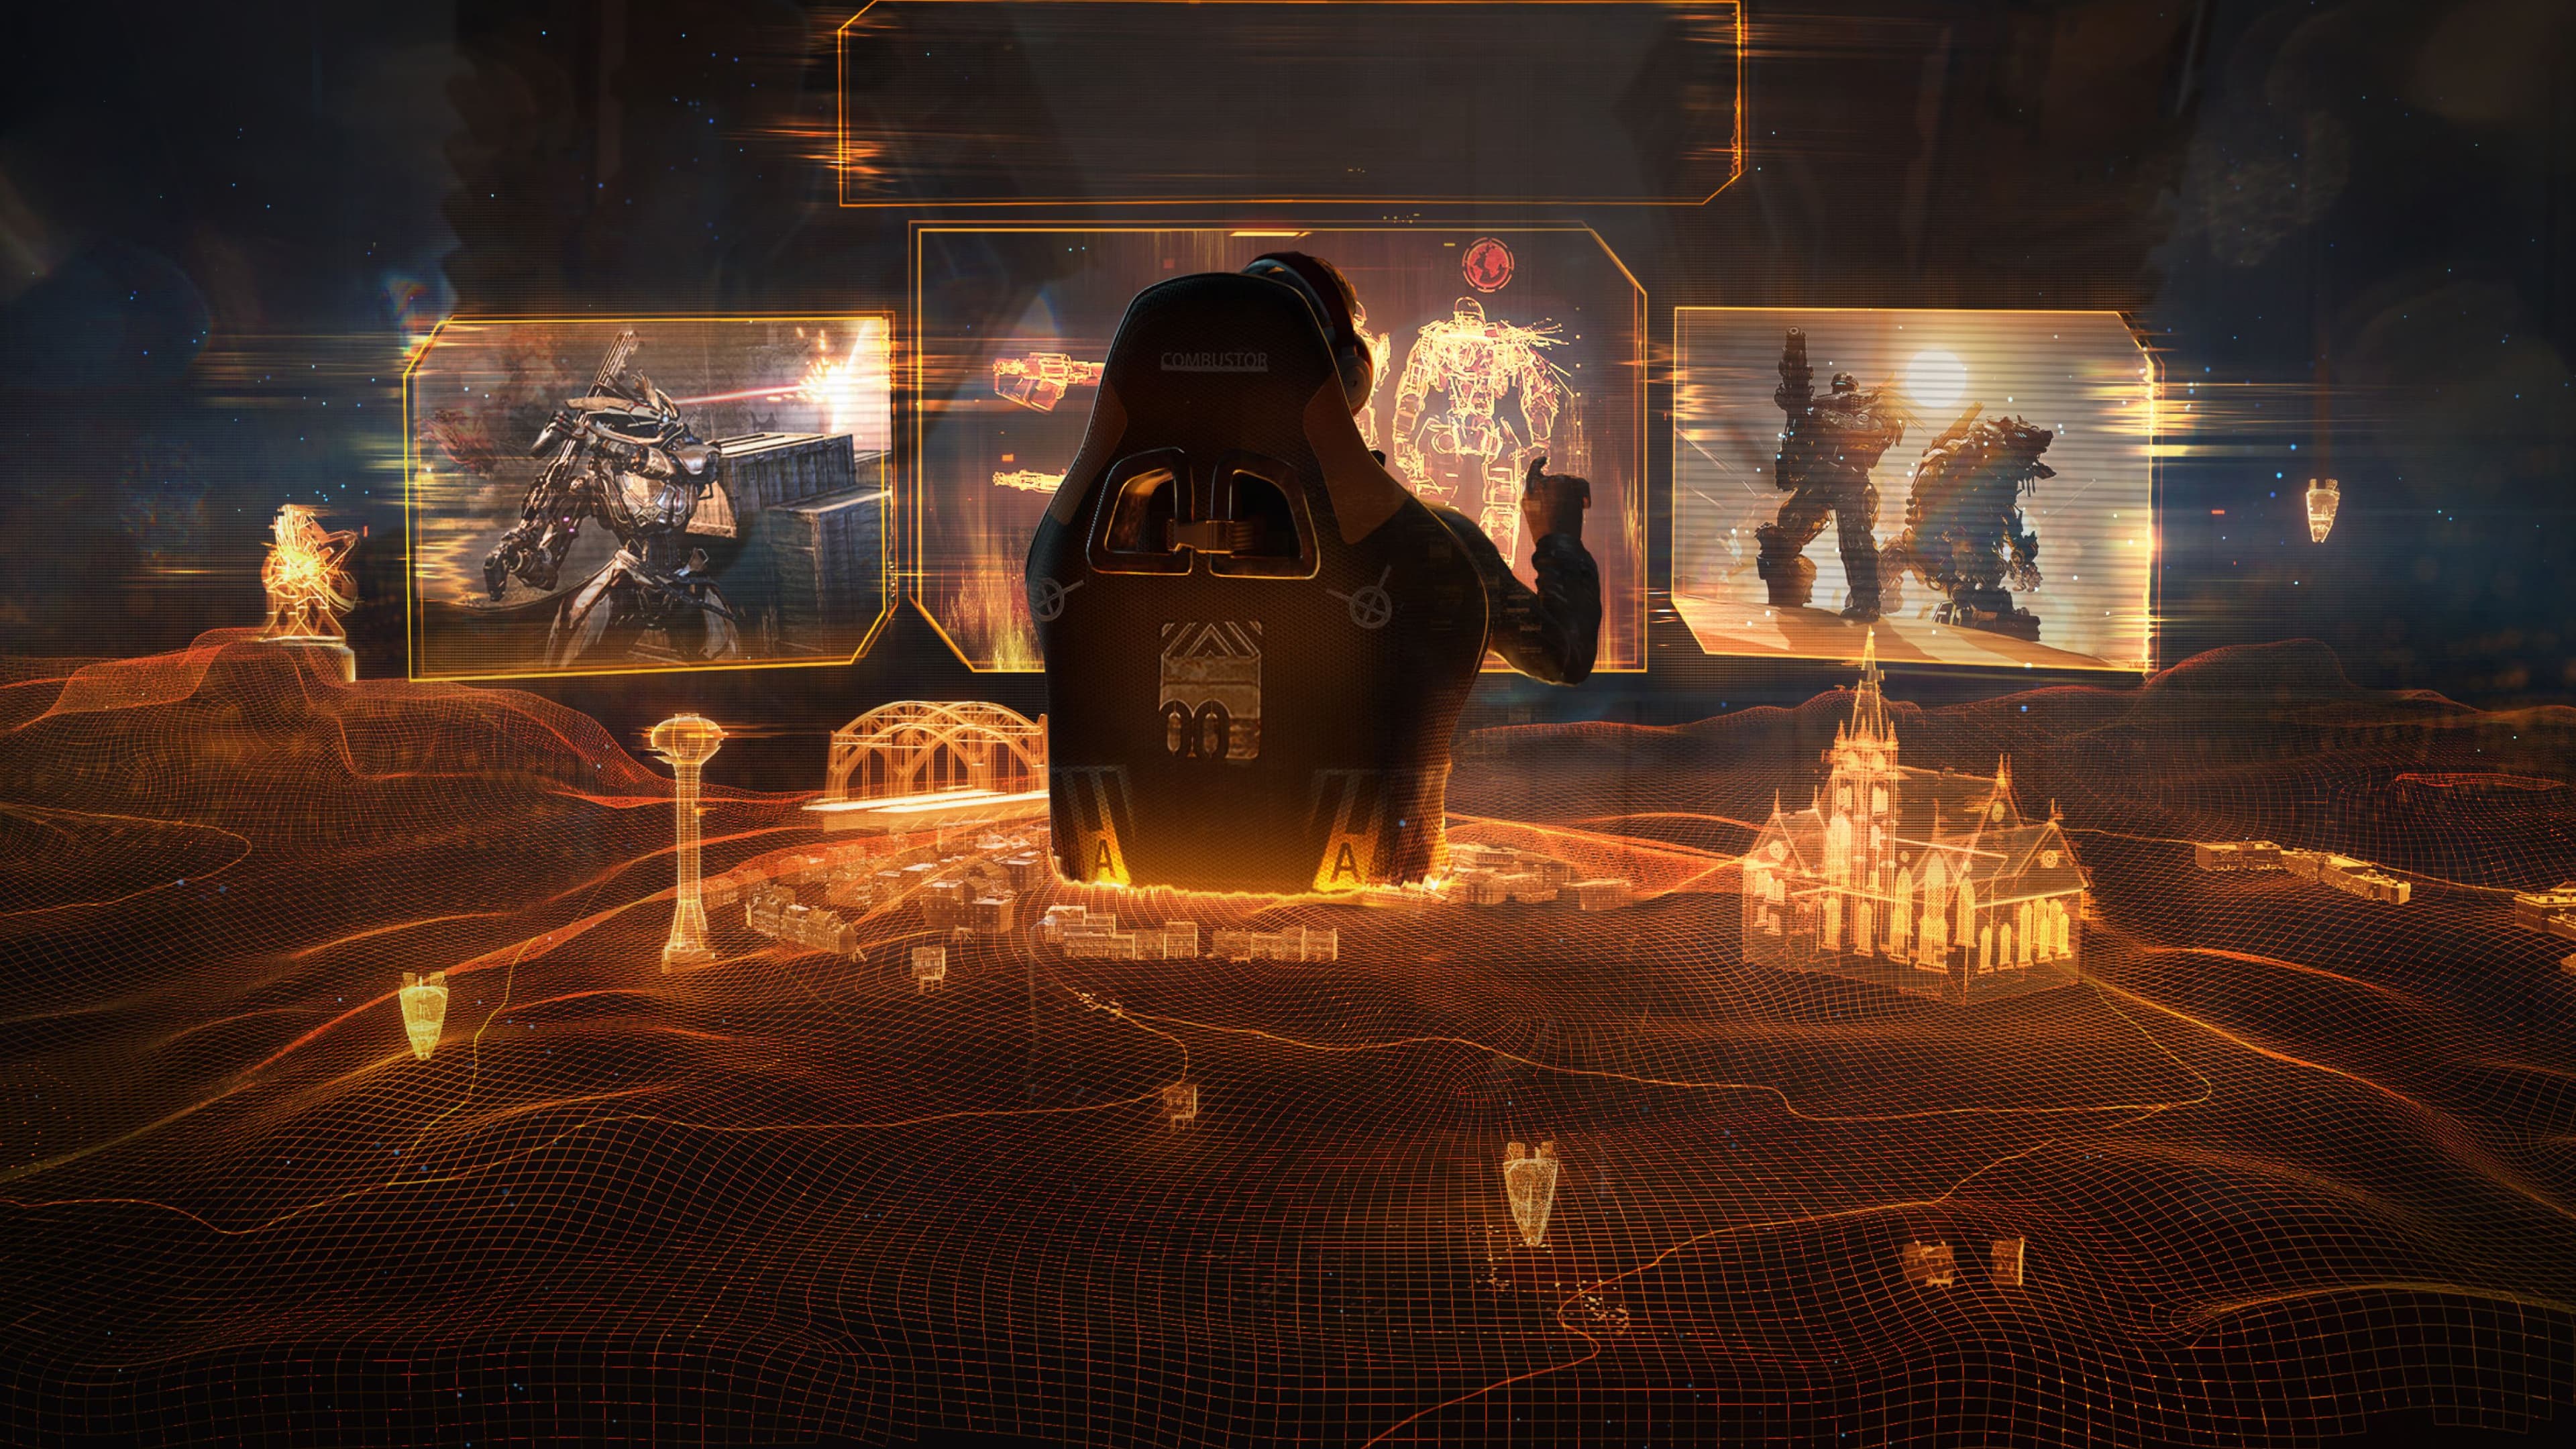
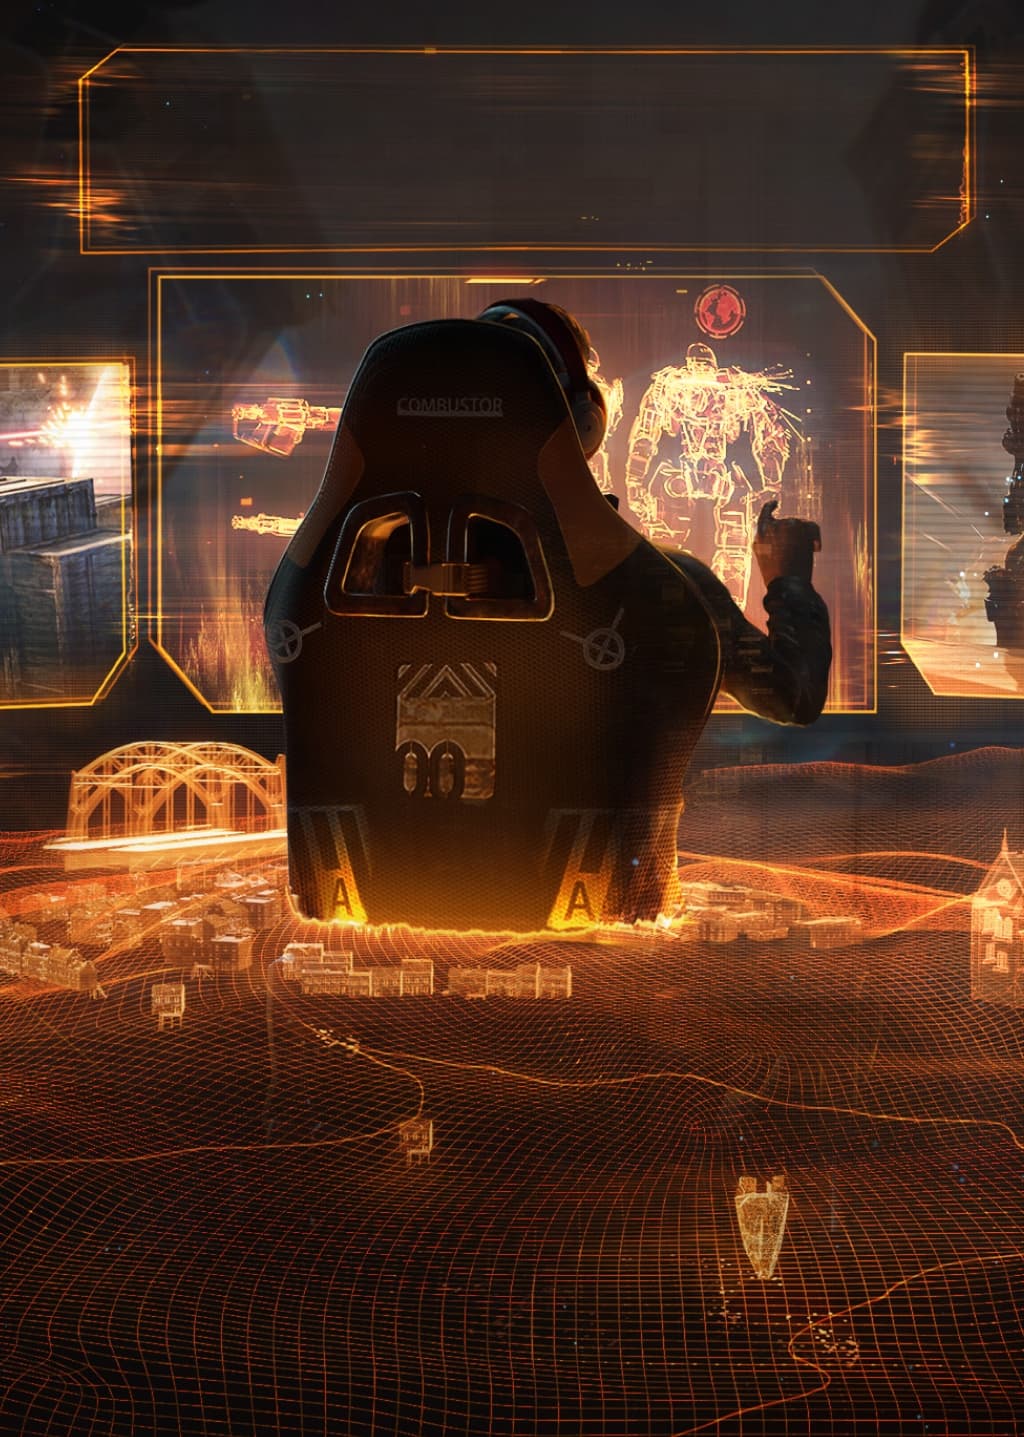
Welcome to Steel Hunters — a tactical third-person PvP shooter set in in a dystopian future where Earth has become uninhabitable.
In this guide, you will learn to master Hunters — giant killing machines of the future — and how to fulfill your quest for survival, honor, and the dangerous riches of Starfall that rule the XXII Century!
This guide is split into three parts, taking you from the basic controls all the way to a guide for our main game mode — be sure to practice and use your newfound knowledge in the arena!
This section will cover all the basic controls of your Hunter. You can change all key bindings in the settings menu.
Movement
- Press W to move forward.
- Press S to move backwards.
- Press A to move left.
- Press D to move right.
- Press SHIFT to run.
- Press SPACE to jump.
- Press CTRL to dash forward. You can change the direction of your dash by pressing Ctrl + W/A/S/D.
-
- Dashes and jumps consume charges — Hunters regain charges over time. By default, each Hunter has two charges.
- Please note that dashing and jumping are separate by default. If you prefer, you can switch to combined dashing and jumping with SPACE as a hotkey for both. In that case, pressing SPACE performs a dash, while holding it for half a second and releasing performs a jump.
Camera, Aiming and Combat
It’s critical to maintain situational awareness — be sure to look around as it helps you detect other Hunters.
- Press X to switch your camera from left to right shoulder.
- Hold X to enable free-look without changing your Hunter's direction.
- Press LMB (Left mouse button) to fire.
- Press and hold RMB (Right mouse button) to aim.
-
- Aiming highlights enemy weak spots — target them to deal more damage!
- Press V to perform a melee attack.
- Press Q or F to activate your Hunter's two abilities.
- Press R to reload your weapon.
-
- Your main weapon's ammunition is limited, but regenerates over time. The less ammunition you have, the faster it regenerates.
- To restore ammunition:
-
- Pick up Ammo containers on the battlefield.
- Press T to activate your ammo regeneration ability. If it is not interrupted, it will restore 2 magazines.
SOCIAL
Steel Hunters is played in duo-squads, you can find a squad mate on our Discord server or queue up solo to be matched with another player automatically.
- To form a squad with a player, click the "Social" button in the top left corner in the Hangar, select "Add Friend" and enter the player's ID.
-
- Your player ID is displayed on top of the social menu.
- Steel Hunters has a powerful built-in voice chat system:
-
- Press N to toggle it on or off.
- By default the system uses voice activation, but you can switch to Push-to-talk in the settings.
COORDINATION
- Press M to open the tactical map.
-
- Click a location on the map to ping it to your squad.
- Press MMB (middle mouse button) to send your squad mate a contextual ping — this will highlight the location (i.e Enemy, Consumable, Supply Pod, Location) that you are aiming at.
- Hold MMB to bring up a quick command wheel.
- Double-click MMB it to immediately display a warning at the location you are aiming at.
BATTLE ITEMS & INTERFACE
This section will cover how to level and power up your Hunter in a match.
Destroy drones or other Hunters in battle and collect the loot that they drop. Three types of items can be found in battles. Energy Cells, Enhancement Cores and Consumables.
Hold E to pick up items or to open Supply Pods and Loot Crates.
Energy Cells
Your Hunter starts each battle at level 1, by collecting Energy Cells you can increase your Hunter's power level to 5. With each power level, your base stats increase, and at level 3 your second ability is unlocked. At level 5 you will not be able to pick up additional energy.
Don't worry — Energy Cells are shared between squad mates, meaning that it doesn't matter who picks them up as they will boost the level of all Hunters in the squad.
Enhancement Cores
Enhancement Cores improve three key stats of your Hunter: damage, structure and shields.
- Triangular cores improve damage.
- Round cores improve structure (hit points).
- Diamond cores improve shields (shield points).
Enhancement Cores can be found in 5 quality grades:
- Grey = Grade 1
- Green = Grade 2
- Blue = Grade 3
- Purple = Grade 4
- Orange = Grade 5
Enhancement cores are not shared between your squad. You can see which cores your squad mate has equipped in the bottom left under their health display.
Higher quality cores automatically replace lower-quality ones, which are dropped when being replaced. Your squad mate can pick up any cores that are dropped this way, provided they are of a higher quality than the one they have equipped.
CONSUMABLES
Consumables are battle items that help you in a variety of ways, ranging from repairing your Hunter to activating a unique ability.
All Consumables take time to activate and their activation is slowed down whenever you take damage. Plan ahead — make sure you’re safe from the enemy when you’re trying to use a Repair Kit, Energy Dome or any other consumable!
You can share your consumables with your squad mate. Hold the TAB key, move your mouse over the item you want to drop and release TAB to drop the item.
Repair Kits
- Press 3 to activate a Repair Kit.
Repair Kits restore 35% of your Structure (Hit Points) over time, which can be increased by System Mods. By default, you can only carry three Repair Kits.
Respawn Booster
- Press 2 to activate a Respawn Booster
Respawn Boosters removes your fallen squad mate's respawn timer and allows them to revive immediately. You can only carry one Respawn Booster at a time.
Special Kits
- Press 1 to activate a Special Kit
There are currently three Special Kits available: Colossus Kit, Energy Dome and Reactor Charge. The latter two come in two variants: Weak and Strong.
Colossus Kit
The Colossus Kit turns your Hunter into a powerful Colossus for 60 seconds. The Colossus has a very strong melee attack and a shoulder-mounted minigun. When facing a Colossus, try to stay out of his range and work with your squadmate to attack his weak points.
Energy Dome
This Special Kit spawns a protective sphere around your Hunter, blocking all incoming damage and projectiles from outside the Dome while it has hit points remaining. Enemy units cannot move through the Dome, while you and your allied units can freely move and shoot through the sphere.
Reactor Charge
The Reactor Charge instantly bites off a chunk of your cooldown timer for any abilities that are still cooling down, meaning that you can use your abilities more often. If caught off guard, you'll always have a trick up your sleeve to make a mean comeback!
Please note: Reactor Charge won't give you an edge if all of your abilities are ready to be used—make sure to unleash them first!
LAST STAND
After you complete the Tutorial and play your first trial match against AI Hunters, you are ready to fight your first battles in the arena!
Our main game mode is called "Last Stand" and features two maps: Maryland Heights and Crimson Ridge. They are chosen randomly when you are searching for match.
Last Stand is played in duo-squads, either against other players in PvP mode, or in Coop mode with another player versus the AI. You can switch between game modes by clicking the "Last Stand" button above "Play".
No matter which mode you prefer, each match follows the same set of rules:
- There are six squads in each match.
- Shortly after the match starts, each pair of squads is given an indicator for a green Lv2 Supply Pod, which contains valuable battle items. Proceed to the supply pod, destroy the drones and fight off the enemy squad to claim them.
- In addition, Loot Crates of varying rarities (from Lv1 (white) to Lv4 (purple)) are hidden throughout the map. These serve as an additional way to get important battle items, and are very helpful if your squad didn't manage to secure the drop pod.
- Once a set period of time has passed or two Lv2 Supply Pods were opened, two Hunting Ground zones are announced and activated:
-
- These two zones are visible to every squad in the game. You can freely choose which one to go to, or even to search for Loot Crates instead.
- In each Hunting Ground zone, powerful Rogue Drones are spawned.
-
- These Rogue Drones are spawned in three waves.
- Each wave lasts 45 seconds and contains one Rogue Drone.
- Rogue Drones drop Energy and Enhancement Cores, with each wave increasing the quantity and quality. In Wave 2, Rogue Drones will drop special kits. If there is a Colossus kit present in the battle, the first Wave 2 Rogue Drone to be destroyed will always drop it.
- All squads can see the exact spawn location of the Rogue Drones on their map.
- Once three Rogue Drones were destroyed or all Rogue Drone waves were spawned, the Extraction Zone is announced.
-
- To win the match: Capture and hold the Extraction Zone until the timer expires, or destroy all other squads.
- If the Extraction Zone is captured from another team (flipped), the timer is extended by 20 seconds.
- If a Colossus Kit is activated while the Extraction Zone is active, the timer is extended by 60 seconds.
ACTIVE SPECTATOR
If your Hunter is destroyed, your fight isn’t over so long as your squad mate is alive! You can respawn and even help your ally while you’re spectating. This section of the guide will walk you through the process.
How to support your squad mate:
- If you are eliminated, you become an Active Spectator with your camera locked on your team mate.
- At the bottom of your screen three cards will be displayed, outlining the available boosts you can give your squadmate.
- Activate your chosen boost with 1, 2 or 3.
- After a cooldown, three new cards will be displayed.
- The initial selection of cards is always the same, subsequent cards are randomized. If you do not like the available cards, press R to re-roll them with a decreased cooldown.
- Communicate with your team mate and coordinate when to use boost for full effect.
How to respawn:
- If you are eliminated, you have a cooldown until you can respawn, shown at the top of your screen.
- Your squad mate can reduce the cooldown by destroying drones, destroying Hunters or activating their Respawn Booster with 2.
-
- Note: The cooldown timer and respawn button are frozen for a short time whenever your squad mate takes damage.
- Hold E to respawn when the cooldown reaches 0.
- Following your respawn, you will be immune to damage for a short amount of time and unable to fire, attack, dash or use abilities apart from the Repair Kit. Use this time to pick up Repair Kits, heal up and find cover from your enemies!
Before we dig into how progression and customization work in Steel Hunters, lets look at the terminology and discuss what the different elements do in game.
Name | Function | ||
Account Level (levels 1-50) |
An overall gauge of your in game progress. Increase your account level by unlocking and levelling up Hunters and their Systems. Each Account Level will give you rewards. |
||
Hunter Level (levels 1-40) |
Your Hunter Level shows how far you have progressed with an individual Hunter. Increase your Hunter Level through gaining experience from matches, or using Free XP. Each Hunter Level will give you rewards, including a System Point that you can use to upgrade your Hunter's Systems. |
||
System (levels 1-10) |
Each Hunter has four Systems: main weapon, mainframe and first and second abilities. When first unlocking a Hunter you will need to activate their Systems. After activation, you can use Credits (earned in battles) and System Points (earned from Hunter Levels) to level up each of your Systems. With each System level, the System's base stats are increased. In addition, certain levels activate additional effects from the System's Mod. |
||
Mod |
Mods change your System's stats and gameplay, as well as add additional effects to your System at certain System levels. You can see at which level these effects are activated in the tooltip, note that some Mods activate their effects at lower levels than others. You may freely switch between Mods at any time, they do not need to be unlocked. |
||
Augments |
Augments provide a bonus to your match earnings. They are single-use and consumed after each match. Earn additional Augments by completing missions, as progression rewards and from post-battle loot. |
||
Gear |
Gear provides buffs to certain Hunter stats (i.e. Shields, Ability Power, Critical Damage etc.) and is available in grade levels from Grade 1 (gray) to Grade 5 (orange). Each Hunter has two slots to mount Gear and you can freely switch between any available Gear prior to each battle. Gear is obtained from Salvage Crates earned in matches, any unwanted Gear can be sold for Credits. |
Account Level - Your Personal Progress Indicator
Your account has an overall Account Level that you can increase by unlocking new Hunters, and levelling up Hunters or their Systems. Each Account Level will give you additional rewards and introduce you to new game mechanics. In addition, your Account Level will unlock higher-tier Arenas where you will encounter more dangerous opponents, but also find more valuable rewards.
Unlock new Hunters
You will start with two basic Hunters unlocked - Razorside and Weaver. Additional Hunters are grouped into two categories:
- Starter Hunters that can easily be unlocked using only Credits, which you will be able to collect from matches and missions.
- Advanced Hunters that require a Hunter Key to unlock, in addition to Credits. You will be able to earn Hunter Keys by progressing with your Starter Hunters.
You can inspect any Hunter prior to unlocking them and look at their stats, Systems, as well as read a brief biography to get a feel for their character.
Upgrade your Hunters
Your Hunter Level shows how far you have progressed with an individual Hunter. You can increase your Hunter Level by gaining XP from matches, or by using Free XP.
- After each match, you will receive a portion of your total XP gained as Free XP, while another portion is added to your XP Reserve. You can convert any XP in your XP Reserve into Free XP using Credits.
Each Hunter Level gives you rewards, increases your stats, and provides a System Point that you can use to upgrade your Hunter's Systems.
Upgrade your Systems
Each Hunter has four Systems: main weapon, mainframe and first and second abilities. When first unlocking a Hunter you will need to activate their Systems in the Loadout menu.
After activation, you can use Credits (earned in battles) and System Points (earned from Hunter Levels) to level up each of your Systems.
With each System level, the System's base stats are increased. In addition, certain levels activate additional effects from the System's Mod.
Customize your Gameplay
Each System has between 1 and 3 Mods available that change your System's stats and gameplay, as well as add additional effects to your System at certain System levels. You can see at which level these effects are activated in the Mod's tooltip. Note: Some Mods activate their effects at lower levels than others.
You may freely switch between Mods at any time in the Loadout screen, they do not need to be unlocked.
Strengthen Key Stats
You can further customize and tune your Hunter by equipping Gear. This provides buffs to certain Hunter stats (i.e. Shields, Ability Power, Critical Damage etc.) and is available in grade levels from Grade 1 (gray) to Grade 5 (orange). Each Hunter has two slots to mount Gear and you can freely switch between any available Gear prior to each battle.
Gear is obtained from Salvage Crates earned in matches, any unwanted Gear can be sold for Credits.
Progress Faster
Use Augments to increase your post-battle rewards and speed up your progression. They are single-use and consumed after each match.
You can earn additional Augments by completing missions, as progression rewards and from post-battle loot.